Tuesday, May 27, 2014

Strawberry-Rhubarb Slab Pie


When we first bought our home, Paul and I began dreaming and scheming-up ways we would fix up the landscaping around the house. One of the first items on our future "To-Do" list was to plant some rhubarb on the side of our house. Rhubarb plants are not really great-looking or anything, but their roots are super delicious in all kinds of pies, cobblers, and bars. Finding rhubarb in the store has always been a bit of a challenge (and super expensive) so we thought it would be great if we could harvest our own. When we went around to some of the local farms, greenhouses, and garden centers, nobody had any rhubarb plants/seeds for sale. In fact, several vendors actually thought it weird that we even wanted to plant the stuff in our yard: "You know the leaves are poisonous..."


Last year, one of Paul's coworkers mentioned that they had a monstrous rhubarb plant in the backyard of their Chicago home that they were planning to rip out. Paul half-jokingly begged him to give a small portion of the plant to us so that we could grow rhubarb in our backyard. We did not expect him to comply - but within a couple of weeks a small rhubarb plant appeared on Paul's desk. When Paul got home from work, he took Matthew out back and the two of them dug a small hole for the new addition. Matthew was so proud of his newly planted "wooobarb".


This Spring, that little tiny rhubarb plant exploded into a towering monstrosity. Our neighbors probably are looking at it wondering what the heck kind of weird weed is taking over the side of our house. Matthew was thrilled to see how much his plant had grown. Every day, he goes to check on the status of the rhubarb and reports how much it has grown (I think his estimates tend to be a bit generous). Whenever anyone comes to our house (be it the mailman, random guy dropping off an amazon package, Tru Green lawn service trying to get us to buy their services, Jehovah's Witnesses), Matthew asks them: "Would you like to see my woobarb?"


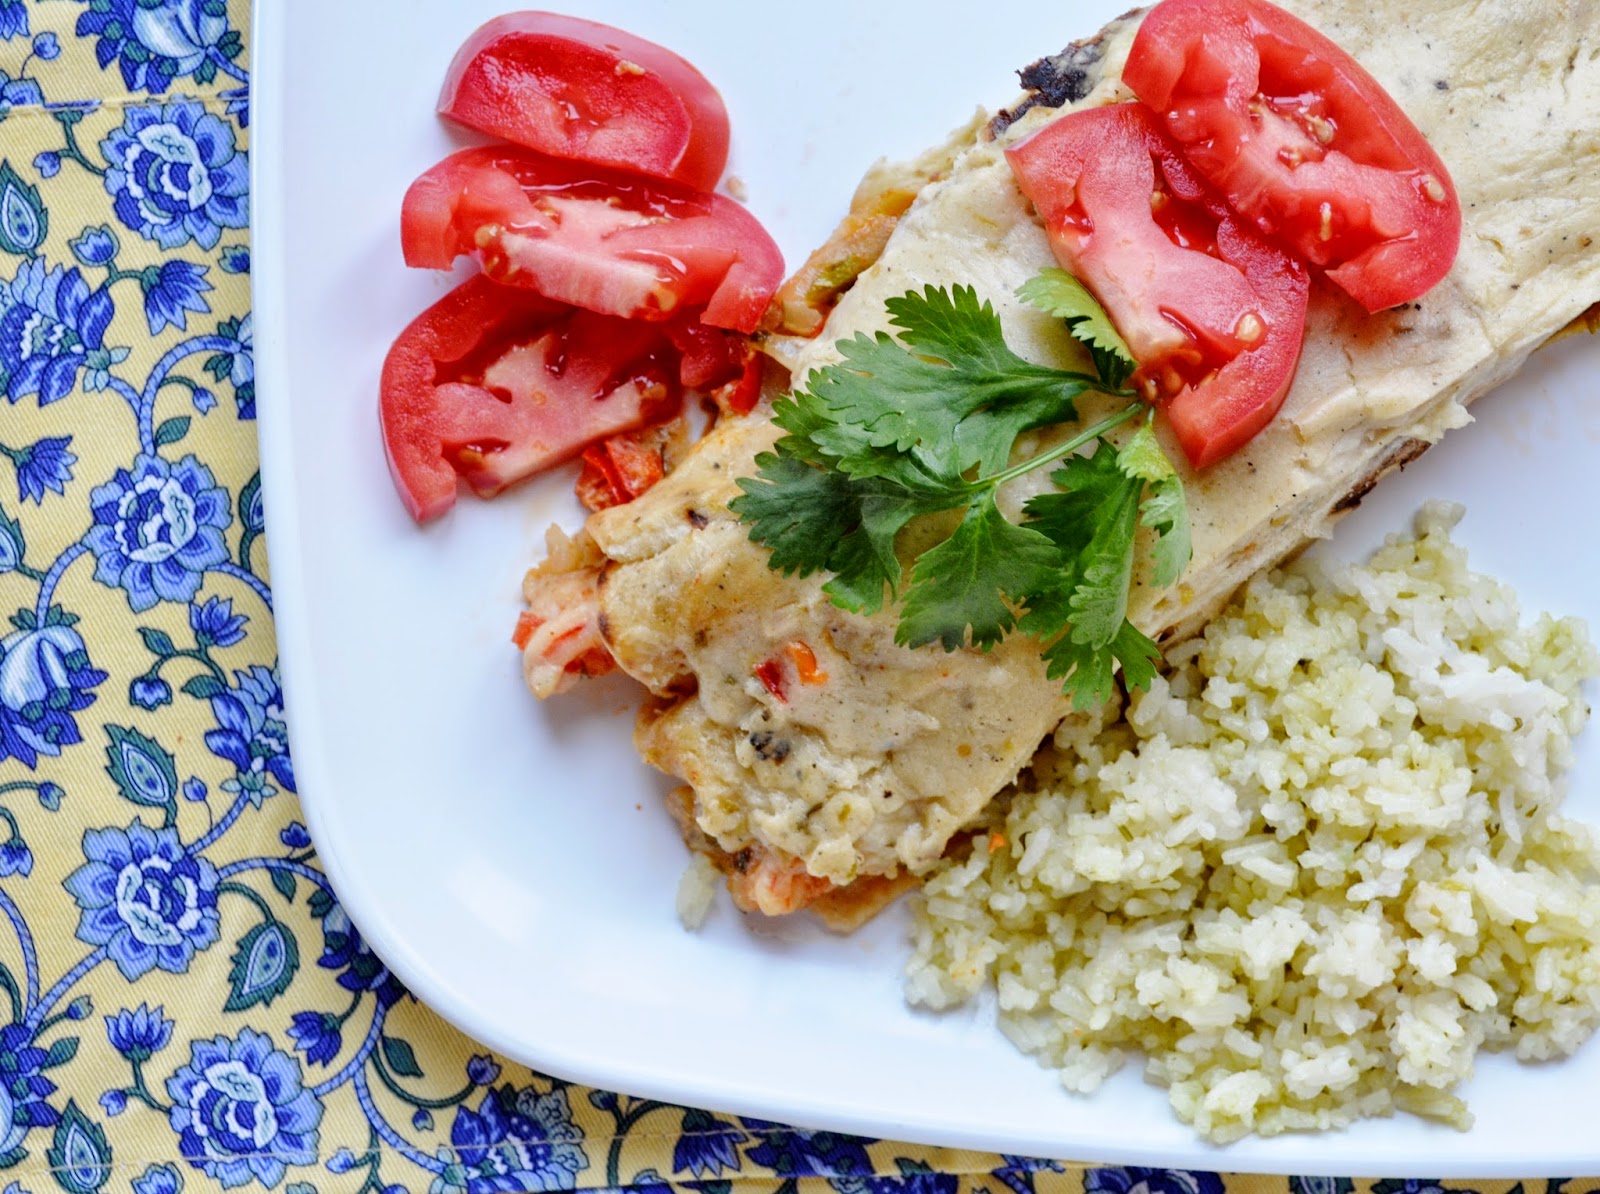
Newly harvested rhubarb is great in so many desserts. A new one that I just tried was for a Strawberry-Rhubarb Slab Pie. A slab pie is basically a pie baked in a sheet pan so you can serve pie for a crowd without having to use multiple pie plates. I had seen a recipe for Apple Slab Pie in an issue of Cook's Country that detailed how to make use store-bought pie dough rolled with crushed animal crackers to beef up the flavor. (Interesting!) I'm all about homemade crusts, but sometimes when you put too much effort into making something, it makes you want to do this:


So, I tried the Cook's Country method for the crusts but used a basic strawberry-rhubarb filling and added a streusel topping instead of another layer of pie dough. We served large, hot pieces of this pie with generous scoops of vanilla ice cream. It was divine. This would be a great recipe to bring to a summer potluck. And, if our rhubarb plant keeps growing the way it has, this is a dessert that I will be making often!


Strawberry-Rhubarb Slab Pie
heavily adapted from Cook's Country

For the crusts:
1 (15 ounce) box Pillsbury pie crusts
1/4 cup sugar
3/4 cup animal crackers

For the Filling:
3 cups sliced fresh rhubarb
5 cups strawberries, sliced
1 3/4 cups sugar
1/3 cup cornstarch (heaping)

For the Streusel Topping:
1 cup flour
1/2 cup brown sugar
1/2 cup cold butter

Adjust oven to rack to the middle position and heat the oven to 350 degrees.

Unwrap and unroll pie crusts from package. Cover with a towel until ready to roll out. Pulse animal crackers and 1/4 cup sugar in food processor until finely ground. Dust work surface with cracker mixture. Brush half of one pastry disc with water, overlap with second pastry disc, and dust top with more cracker mixture. Roll out dough to 19 by 14 inches and transfer to rimmed baking sheet. Crimp the edges and refrigerate until ready to fill.

For the filling, combine the rhubarb, strawberries, sugar, and cornstarch in a large bowl. Toss until combined.

For the streusel topping, pulse the flower, brown sugar, and butter together in a food processor until it has the consistency of coarse crumbs.

To assemble the pie, spread the filling evenly over the pie crust. Sprinkle evenly with the streusel topping. Bake for 45-55 minutes or until the crust is browned and the juices are bubbly. Let cool on a wire rack before slicing and serving. Ice cream is essential.

Monday, May 12, 2014

Grilled Caprese Chicken

 
We had a major "light bulb moment" yesterday.

Over a year ago, my bedside lamp suddenly stopped working. This caused a little disruption in my normal nighttime routine as I like to read in bed before falling asleep. The large overhead light in our room is too bright to have on for reading since Paul prefers to flop into bed and instantly start snoring. While upset that the light was no longer working, it really did not surprise me since the lamp had been acquired during a campus dumpster dive during the spring semester of my sophomore year of college. I actually was surprised that the little lamp had made it this far!

These pictures have nothing whatsoever to do with the post - I just felt like sharing!

When my engineer-extraordinaire husband arrived home that evening, I told him about the lamp. He agreed to have a look at it to see if he could fix it. Well, that did not happen right away. In fact, weeks and then months passed by and that broken lamp was still sitting on our nightstand. In the meantime, I had been reading in bed with a flashlight. Paul insisted that I stop using the flashlight out of concern that I would ruin my already-pathetically-nearsighted vision. So, I stole the tiny "little sluggers" lamp from Matthew's nightstand and put that next to the broken lamp on my nightstand. That has been my reading lamp for the past year.


Around Christmastime, Paul finally took a good look at my broken lamp (about 9 months after it broke) and officially deemed it a lost cause. "We'll have to get you a new lamp!" he said.

Fast forward another five months to Mother's Day (aka yesterday). We were at the hardware store looking for plants for our yard when I decided to peruse the selection of lamp and lampshades. I found a base and a shade that looked nice and showed it to Paul. His reply: "Let's get it! You've been waiting for that lamp a long time!" (No Kidding)

Proud to be the mother of these two darlings.

We arrive home and in an uncharacteristically proactive moment, Paul takes the lamp upstairs to install on my nightstand. He removes the bulb from the broken lamp and twists it into the socket of the new lamp. He screws the shade onto the new lamp, plugs it into the outlet behind the dresser, and then slides the switch.

Nothing happens.

I begin to glare at Paul as he disassembles the new lamp and removes the bulb: "Do you mean...that this whole the time the lamp just needed a new light bulb?!"

"Uhhh.....possibly."

Paul looked pretty sheepish as he got a new bulb, screwed it into the old "broken" lamp and then plugged it in. And the lamp illuminated the room. I am now the proud owner of two bedside lamps.

Did I mention my husband is an amazing, smart, intelligent engineer?

Ok, so he might have a little trouble replacing light bulbs, but Paul sure knows how to grill his wife a delicious meal for Mother's Day! A few days ahead of Mother's Day, Paul asked me what meal I would like him to make for dinner. I immediately thought of this Grilled Caprese Chicken. Paul had made this meal for me as a surprise last summer shortly after I had arrived back in Erie after a long car trip with both of the kids. It was so darn good that it immediately catapulted its way to the top of my list of "Favorite Meals."

As you can see in the pictures, Paul served it to me on the "special plate" for Mother's Day. He was so sweet to me all day long. The kids were kind of whiny and grumpy all day, but that's reality for you!


This is an easy, delicious, and healthy meal that does not take long to pull together. We serve it as a salad along with some homemade bruschetta atop toasted Italian bread. It is so delicious that I am looking forward to enjoying the leftovers tonight!

And, in Paul's defense, his fairly intelligent wife also could have figured out that the light bulb needed replacing! A sheepish moment for both of us, for sure!

Grilled Caprese Chicken with Arugula
adapted from Cook's Country

Note: The chicken breasts should be on the thinner side. Our chicken breasts are always huge, so we normally remove the tenderloin and then pound them to about 3/4" thickness.

1/4 cup table salt
1/4 cup sugar
1 quart water
4 chicken breasts, about 1 1/2 to 2 pounds (See Note Above)
4 tablespoons chopped fresh basil
2 tablespoons red wine vinegar
2 garlic cloves, minced
Salt and pepper
4 tablespoons olive oil
6 ounces fresh mozzarella, cut into 1/4-inch slices, halved, and patted dry
2 large tomatoes, cored and cut into 1/2-inch slices (make sure they are ripe but firm enough to hold shape on the grill)
6 ounces baby arugula
 
Combine the salt, sugar, and water with a whisk in a large bowl. Add the chicken pieces and place the bowl in the refrigerator to brine for at least 30 minutes before grilling.
 
In a small bowl, combine the basil, vinegar, garlic, 1/2 teaspoon salt, and 1/2 teaspoon pepper. Slowly whisk in the oil until it is thoroughly incorporated. Transfer 3 tablespoons of the vinaigrette to a bowl and toss in the fresh mozzarella pieces, coating the cheese with the vinaigrette. Set aside. Reserve the remaining vinaigrette for the cooked chicken.
 
Pat the chicken pieces dry with a paper towel and season both sides with salt and pepper. Grill the chicken and tomatoes on a hot charcoal or gas grill until the chicken is browned and cooked through and the tomatoes are lightly charred, about 2-3 minutes per side (depending on the thickness of your chicken and heat of the grill). Transfer the cooked chicken to a platter. Top with the tomato slices and drizzle with the half of the reserved vinaigrette. Cover the chicken with an even layer of mozzarella and tent the platter loosely with foil. Let the chicken rest for 10 minutes.
 
While the chicken rests, toss the arugula with the other half of the reserved vinaigrette. Add a little additional olive oil if desired and season with salt and pepper. Pile arugula onto individual plates and top with the chicken and any additional tomatoes. Enjoy!

Friday, May 9, 2014

Kale Salad with Apples, Feta, and Sherry-Shallot Vinaigrette


Yesterday and today, the weather has been so beautiful that the kids and I have been spending the majority of our time outdoors enjoying it! As I have previously mentioned, Emma cannot get enough of the outdoors and Matthew just loves basking in the sunlight. However, I have learned that there are some great things and some not-so-great things about spending a lot of time outside with my crazy kids.


The GREAT Things About Being Outdoors with the Kids
 
-1-
Dandelion Bouquets! Matthew has picked me so many! It touches my heart each and every time. He calls them "sunflowers". I will never tell him they are weeds.
 
-2-
Our house stays clean. I don't care how much grass they pull up or how many rocks they toss about. It's much better than destroying the inside of our house like they did ALL WINTER LONG.
 
-3-
We get our daily dose of Vitamin D. We look better, feel better, and are overall much happier when we can absorb some of those glorious rays of sunshine!
 
-4-
Baby Summer Clothes are awesome. Little kids are so cute outfitted in summertime tops and bottoms. Emma has so many cute little sundresses that I am just dying for her to wear! I also love shoving her chunky little feet into sandals. And baby hats and sunglasses? I might die from all the cuteness!
 
-5-
Complete and utter Exhaustion.  Okay this might not sound like such a good thing, but I mean it in regards to the kids, not myself. When playing outside, they wear themselves out so much that they nap so well and go to bed super easily! It's fantastic because then I can catch a nap or Paul and I can go to bed early (because we are 90).


The Not-So-Great Things About Being Outdoors with the Kids
 
-1-
Emma eats rocks.
 
-2-
Emma eats bugs.
 
-3-
Emma eats grass.
 
-4-
Emma eats mulch.
 
-5-
Emma eats sidewalk chalk.
 
-6-
Matthew throws a tantrum because Emma ate the red chalk he was using to draw Spider-Man.
 
-7-
Emma eats dandelions.
 
-8-
Matthew throws a tantrum because Emma ate the dandelions from the bouquet he had just spent 10 minutes picking for me.
 
-9-
Both my kids are white as a sheet and require copious amounts of sunscreen to be applied every 90 minutes.
 
-10-
Emma eats sunscreen.
 
 
You get the idea. I'm very glad that summer is here, but I'm going to have to watch Emma like a hawk. She's a lot easier to control indoors!
 
The best part about meal planning in summer is all the fresh, local produce that is available. We tend to eat a lot lighter during the summer, partially because I do not feel like turning on the oven most of the times but also because so many fruits and vegetables are at their peak! We eat a lot of salad normally, but over the next few months we will be eating a LOT more salad. Luckily, pretty much everyone enjoys vegetables and fruit in our household.
 
The only type of salad that I have had a bit of trouble getting Paul to eat is Kale. It is a bit too tough and chewy for him most of the time. Paul really would prefer chewing his food as little as possible - his beautiful set of teeth are honestly a bit of a waste on him. He's looking forward to the day when he has to live off an all-liquid diet. Anyway, because of his hatred of mastication, Paul really dislikes Kale in his salad. I do love it and continue to serve it even though it is not his favorite. If I prepare the kale ahead of time, it has plenty of time to "soften" and absorb some of the vinaigrette and not be as challenging to eat. I've begun chopping my kale lightly in the food processor just to break it up into small pieces to speed up the softening process. I then will toss the greens in a vinegar-heavy dressing a few hours before serving. The rest of the goodies are added shortly before dinnertime and what results is a beautiful, healthy salad that even my picky husband can stomach.
 
I like to eat this salad all by itself as a main dish. I find it very filling and refreshing. It's a great way to welcome summertime!
 
 
Kale Salad with Apples, Feta, and Sherry-Shallot Vinaigrette

10 cups kale, stems removed
1/4 cup sherry vinaigrette
1 clove garlic
1 medium shallot, peeled
1 tablespoon sugar
1 tablespoon extra-virgin olive oil
1/2 teaspoon salt
1/4 teaspoon pepper
1 apple, chopped
1/2 cup roasted sunflower seeds
1/2 cup dried cranberries
1/2 cup feta

Working in 2-3 batches, place the kale by the handful in the bowl of a food processor. Pulse intermittently until the kale leaves are chopped to desired size. Remove chopped kale to a large salad bowl and repeat with remaining kale.

In the now-empty food processor, add the shallot and garlic clove. Pulse until chopped finely. Add the vinegar and sugar and turn the processor on. Once the vinegar, sugar, shallots, and garlic are pureed, slowly stream in the olive oil as the machine is running. Let the machine continue running until the mixture is thick. Stir in the salt and pepper.

Pour the dressing over the salad and toss to coat the kale greens very well. Let the kale stand for about 10 minutes to allow the leaves some time to soften. Add the chopped apple, cranberries, sunflower seeds, and feta. Toss to combine.

Alternatively, you could prepare this a few hours ahead of time. Cover and refrigerate. When ready to serve, add the apple, cranberries, sunflower seeds, and feta.

Serve!

Wednesday, May 7, 2014

Shrimp Enchiladas with Sour Cream Cheese Sauce


 This meal may not look like much in the pictures but that's only because I am convinced that enchiladas are one of the most difficult things to photograph. I know my awful pictures are probably on initial glance going to leave you wondering: "What is that gigantic plate of slop she feels the need to share with us?" But hear me out, these enchiladas are super tasty and irresistible.

The filling is comprised of shrimp cooked with bell pepper, onion, garlic, and spice and then tossed with a creamy, dreamy, can't-stop-taking-samples-from-the-pot, sour cream-cheese sauce. After the tortillas have been filled with the shrimp mixture, the remaining cheese sauce is poured over the top and the entire pan is baked until browned and bubbly.

Sinful? Quite. Rich? Just a tad. Worth the splurge? Oh yes.


We served this up with a simple green salad tossed with a Cilantro-Lime Vinaigrette as well as a side of Cilantro-Lime Rice. We are a bit obsessed with the cilantro-and-lime combination.

During dinner, Paul and I were amazed at how much of the meal Emma kept scarfing down. She inhaled plateful after plateful of enchiladas and rice and, when she noticed her plate was empty, begged us for more. After about her fourth helping, she finally decided she was full. When we extracted her from her high chair to clean her up, we realized that most of the rice had actually been dumped down the front and inside of her shirt. She is a dainty little thing.


If you are looking from for a break from your typical enchilada recipe MAKE THESE. They are so, so good!


Shrimp Enchiladas with Sour Cream Cheese Sauce
adapted from The Girl Who Ate Everything

For the Shrimp Filling:
2 tablespoons butter
1/2 cup red bell pepper, diced finely
1/2 cup white onion, diced finely
2 cloves garlic, minced
1 pound large shrimp, peeled, deveined and chopped into 1-inch pieces
1/2 teaspoon salt
1 teaspoon chili powder
1/4 cup chopped fresh cilantro
2 tablespoons lime juice

For the Sauce:
4 tablespoons butter
4 tablespoons flour
1 1/2 cups chicken broth
1/2 cup salsa verde
1 1/2 cups shredded Monterey Jack cheese (do not use pre-shredded cheese!)
1 cup sour cream

To Finish:
10-12 (8-inch) flour tortillas (or corn tortillas if that is your preference!)

Preheat oven to 350 degrees and lightly grease a 9x13 glass Pyrex pan.

To make the shrimp filling, melt 2 tablespoons of butter in a large skillet set over medium heat. Add the red bell pepper and onion and saute until slightly softened. Add the garlic and cook until very fragrant. Add the shrimp and cook for about 2-3 minutes or until the shrimp just begin to turn pink. Since they will be cooking some more in the oven, we do not want to overcook the shrimp too much at this stage!
Remove mixture from the heat and transfer to a large bowl. Add the salt, chili powder, cilantro, and lime. Stir and set aside.

In a large saucepan set over medium heat, melt the butter. Add the flour and whisk/cook for 1-2 minutes. Slowly add the chicken broth while whisking continuously. Continue to cook/whisk for 1-2 minutes or until the sauce begins to thicken. When it coats the back of a spoon, remove from heat. Add the Monterey Jack cheese in batches, whisking well to melt. Stir in the salsa verde and sour cream.

Add 1 cup of the sauce to the shrimp filling and stir well.

Fill a tortilla with about 1/3 cup of the shrimp mixture. Roll the tortilla tightly and place it seam side down in the baking dish. Repeat with the remaining tortillas.

Pour the remaining sauce over the tortillas and then transfer the pan to the oven. Bake (uncovered) for 30-40 minutes or until the tops are golden brown.

Remove from the oven and let the enchiladas sit for 10 minutes before serving. Serve with Cilantro-Lime rice, salad, and some extra salsa verde on the side.

Tuesday, May 6, 2014

Spring Cleaning


Spring showers may bring pretty flowers but they also force us to remain indoors even though the temperatures are warm outside. Ever since Emma discovered the great outdoors, she spends the majority of her waking hours banging on the back door begging to be let out. Sometimes, she and the cat join forces in their whining to be outside - Riley meows loudly while Emma puts on her most ferocious frown and bellows "MAAAAAAA!"


When her complaining fails to win her freedom, she decides to camp out in front of the door. It's her own version of a sit-in.


So, what does one Mom and her babies do while stuck inside? Some Spring cleaning!

First, we put up a new shelf for Emma's books in the nursery. I think it turned out pretty cute!


We cleaned out all the closets and drawers, packed away the clothes that no longer fit the children, and separated them into bins to be placed in the basement storage. This also involved unpacking all the clothes in the next size up for both Matthew and Emma. We also donated any clothes that no longer fit or that we no longer wear on a regular basis. As I was doing this task, I began to realize how many clothes my kids have. Why do they have so many? They should just have five pairs of pants/shorts and maybe 10 shirts to coordinate with them and a couple pairs of PJs. Done! Why do they have a wardrobe with enough clothing to dress them in a different outfit every single day for a month without ever having to do a load of laundry? Insanity!

I love that Matthew is old enough to help transfer the loads of laundry.
And he actually enjoys doing it! I wonder how long I can milk this before he realizes it is a chore?


We built a new shelf to help keep the play room organized. And by "built" I do not mean to give the impression that I picked out some wood, cut it into the appropriate sizes, and nailed everything together into a piece even a master carpenter would be proud of. No. I went to Target and got one of those boxed bookcase sets that claim to be so simple to put together that even our cat could do it (I specify our cat in particular because, being polydactyl, he actually does have thumbs). Anyway, Matthew had a grand old time helping me put everything together. He only smashed his finger with the hammer once. Emma tried her best to eat the nails and screws. These babies are a danger to themselves!! Needless to say, the bookcase-building was more stressful than it should have been for me.

Sitting atop all the bins of clothes to be taken down to the basement for storage!


We then proceeded to clean everything! Working one room at a time, we cleaned out all cupboards and wiped them down. All walls, floors, and surfaces were wiped and disinfected. Expired items were tossed from the pantry, medicine cabinet, and refrigerator into the waste basket. I tried to put the children to work where I could, but they still proved to be two major hindrances. Emma more so than Matthew. At least Matthew does not desperately want to eat the cleaning solutions. Are you noticing a pattern here? Basically, Emma wants to eat everything. She's a human garbage disposal.


Now our house is clean and organized! And it's still raining. All we have left to do is play. And in these blessed moments I am privileged to share in play and silliness with my children, I realize that sometimes rainy days are not so bad.

Emma thinks Matthew could use a bit of grooming. I agree. A haircut is needed soon!


Saturday, May 3, 2014

Banana and Coconut Steel-Cut Oats


The other morning, I was enjoying an unusually restful sleep. It was the type of sleep where nothing can seem to awaken me - not the sound of the alarm going off or Paul slowly rising and bumping around as he prepared to take his shower. I remember dreaming about vacationing with the family - the weather was lovely and we were hiking among the hills all Sound of Music style in some foreign location. Suddenly, this pleasant image quickly switched to a horrifying one of me drowning. I could not breathe, I was sinking somewhere deep....

And then I woke up with a start and realized that Matthew had his lips pressed firmly against mine - so firmly in fact that I could not breathe! I pulled away from him and gasped for air while he just sat there giving me a creepy smile.

"Matthew! What on earth were you doing?!" I gasped.

"True love's first kiss I give you, Mommy. And it works - you woke up, Mommy!"

And so begins another day with my crazy children who are all-too-easily influenced by fairy tales!

Dealing with these crazy kids requires a ton of energy and I am a firm believer in getting the day started off on the right foot with a nutritious (and delicious!) breakfast. We are big fans of oatmeal and while Paul swears by his bowl of soupy quick oats, I love the additional texture of steel-cut oats. The only issue with steel-cut oats is that unless you are a big fan of standing in front of the stove stirring for about 30-45 minutes, they can be a real pain to prepare on a whim. A little advanced planning is required to get them perfectly tender within about 10 minutes in the morning. The night before, simply bring some water to a boil and add the oats, stir, and then let them soak overnight. This gives the oats a little bit of time to soften up before the morning - enough so that only about 10 minutes of cooking is required before the breakfast is served!  Which is awesome in my case because the children are very needy in the mornings.

Case in Point.

This banana-coconut variation is our family's favorite. Baby Emma is perhaps the biggest fan of all - she would probably eat the entire pot if I let her. Matthew loves eating the leftover toasted coconut. I remember hating coconut at his age (and Paul still has some textural issues with it) so I'm impressed that he is such a fan.


Banana and Coconut Steel-Cut Oats
adapted from Cook's Illustrated Magazine

1 cup steel-cut oatmeal
3 cups water
1/2 teaspoon salt
1 cup coconut milk
2 tablespoons light brown sugar
1/2 teaspoon vanilla
2 bananas, halved and then sliced into 1/2 inch pieces
1/2 cup sweetened, shredded coconut, toasted

The night before, bring the 3 cups of water to a boil in a medium stockpot. Add the oats, the salt, and stir. Remove the pot from the heat, cover, and allow to stand overnight at room temperature.

The next morning, stir in the coconut milk and place the pot over medium-high heat until the mixture boils. Be sure to stir frequently, scraping the bottom well with a wooden spoon. Reduce the heat to medium and cook/stir for 8-10 minutes or until the oats thicken and are tender. Remove the pot from the heat and stir in the sugar, vanilla, bananas, and coconut. Cover and let stand 5 minutes before serving.

Serve, topped with additional coconut and sugar if desired.

Friday, May 2, 2014

Mango Salad with Curried Coconut Dressing


So the other day I'm in the kitchen getting ready to make this healthy, delicious salad for dinner when Matthew comes sauntering in.


"What you doing, Mommy?"

As if he doesn't already know.

"I'm getting ready to make dinner."

"Oh yes. What you making for dinner?"

"Salad."

This is where I prepare myself mentally for the complaints that are sure to ensue.

And, sure enough, the whining begins with: "I can't want salad for dinner!"

Sigh.

"What's wrong with salad? Do you have a better idea, Matthew?"

"Yes. I think I want some lobster."

Lobster?!? Alrighty then, your highness. Shall I serve that with a side of caviar and some foie gras?

We still had salad that night. This salad in fact. It was a nice nutritious meal to enjoy after a weekend of indulgence. We had traveled to Columbus for the baptism of our newest niece and godchild and definitely over-sampled some very rich food. The dressing is the best part of the salad - it is quite unique! It is meant to be a savory dressing, but if you'd like a touch of sweetness a bit of honey could be lovely but otherwise it pairs beautifully with the sweetness of the ripe mangoes. The peanut butter does not stand out too harshly but instead, when combined with the coconut and curry, imparts the recognizable Thai-style flavoring to the dressing. I was a little nervous about what Paul would think of the dressing but he actually really liked it.


If vegetarian salads are not your thing, add some roasted chicken or pan-seared shrimp (or lobster if you have fancy-pants tastes like my Matthew). Either way, this salad will leave you feeling great long after dinner is over.

And for the record, Matthew refused to eat the composed salad for dinner. He picked out the red pepper, mangoes, and nuts and then made known his exhaustion from his full day of playing, coloring, singing and being simply obnoxious all day long. As he headed upstairs to bed, he called back to me: "Mommy...we need to have lobster for dinner tomorrow!"

Dream on, kid.


Mango Salad with Curried Coconut Dressing
adapted from The Roasted Root

For the Curried Coconut Dressing:
1 cup coconut milk (full-fat ONLY)
3 tablespoons creamy peanut butter
3 tablespoons fresh lime juice
1 tablespoons yellow curry powder
1/2 teaspoon salt

For the Salad:
8 ounces spinach
2 mangos, peeled and chopped into bite-size pieces
1 red bell pepper, thinly sliced
1 bunch green onions, thinly sliced
1/2 cup roasted, salted cashews or peanuts

For the dressing, whisk together all ingredients until well blended. Refrigerate the dressing for about two hours or until it thickens.

To make the salad, toss the spinach, mangoes, red bell pepper, and green onions in a large bowl. Add the desired amount of dressing and toss to coat. Top with the nuts and serve!